Imagine creating any object you want from home. That’s what DIY 3D printing offers. It’s easier than you think. In 2021, over 1.4 million people made their own 3D printers at home. This changed how we think about making things.
This guide will show you how to make your own 3D printer. It doesn’t matter if you’re just starting out or have big plans. You’ll learn how to make a 3D printer that works well and fits your needs.

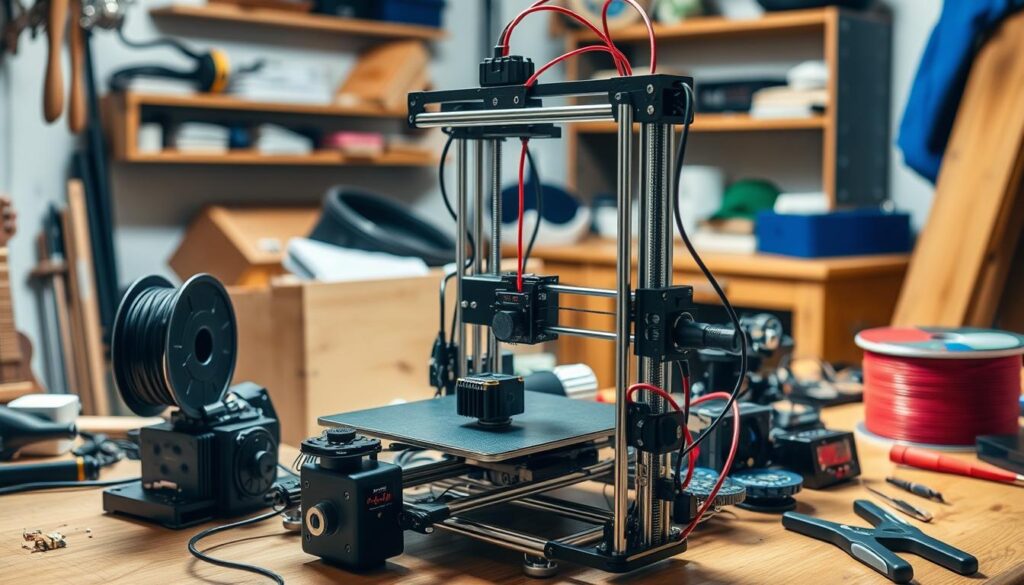
A detailed and intricate DIY 3D printer setup in a cozy home workshop, with various components like metal frames, motors, wiring, a spool of filament, and tools scattered around, bright ambient lighting highlighting the craftsmanship, hints of wood and metal textures, showcasing the assembly process in a creative and inviting atmosphere, jagwalhome.com.
Key Takeaways
- Find the advantages of building your own 3D printer and the key parts required.
- 10 secret ideas for 3d printing home decor
- Find out about the fundamental devices and materials expected to build a solid, dependable home-constructed 3D printer.
- Grasp the bit by bit process for gathering the edge, incorporating the electronic parts, and setting up the extruder and print bed frameworks.
- Investigate cost-saving systems and variables to consider while leaving on your Do-It-Yourself 3D printing venture.
- Acquire the certainty and information to make your own custom 3D printing arrangements at home.
Understanding the Basics of DIY 3D Printing
Exploring DIY 3D printing opens a world of endless possibilities. Whether you’re new or experienced, making your own reprap or fdm 3d printer is rewarding. The DIY movement is all about open-source 3d printers, offering both affordability and customization.
Benefits of Building Your Own Printer
Creating your own 3D printer brings many advantages. You’ll enjoy the hands-on learning and the chance to customize your machine. Imagine bringing your ideas to life with affordable prototyping and learning more about hobbyist 3d printers.
Key Components and Materials Needed
- Sturdy frame structure
- Precision motors and drive mechanisms
- Extruder assembly for material deposition
- Control board and electronics for precise operation
- Power supply to power the entire system
- Heated print bed for consistent layer adhesion
- Filament material, such as PLA or ABS, for 3D printing
Cost Considerations for DIY Builds
Building your own 3D printer can save a lot of money. By doing it yourself, you can get a great deal compared to buying a ready-made one. But, make sure to plan well for the parts, materials, and tools needed for a successful and budget-friendly DIY project.
Essential Tools and Components for Your Home Built 3D Printer
Building your own 3D printer at home is exciting and rewarding. To do it right, you need the right tools and parts. We’ll look at what you need to make your own 3D printer, whether you’re using kits or open-source hardware.
Your 3D printer needs a strong frame. You can use aluminum, 3D printed parts, or parts from other devices. The frame must be stable and support the printer’s moving parts well.
You’ll also need good motors for the printer’s movement. Stepper motors control the print head and bed, making sure prints are accurate. You’ll also need a control board, like Arduino or Raspberry Pi, to manage the electronics and run the printer.
| Component | Description | Typical Cost |
| Frame Materials | Aluminum extrusions, 3D printed parts, or repurposed components | $50 – $200 |
| Stepper Motors | High-quality motors for precise control of print head and print bed movement | $20 – $50 per motor |
| Control Board | Open-source solutions like Arduino or Raspberry Pi to manage electronics | $30 – $100 |
| Power Supply | Provide stable and sufficient power to the printer’s components | $20 – $50 |
| Extruder | Responsible for melting and extruding the 3D printing filament | $20 – $100 |
| Print Bed | Heated or unheated surface for the 3D printed object to be built upon | $10 – $50 |
You’ll also need an extruder and a print bed. These, along with the frame, motors, and control board, are the key parts of your 3D printer.
Choosing and putting together these parts lets you make a 3D printer that meets your needs and budget. You can use kits, open-source hardware, or even make a self-replicating machine for affordable 3D printing.

“An array of 3D printer components laid out on a workshop table, showcasing a variety of parts including stepper motors, extruders, heated beds, metal frames, and filaments, with tools like wrenches and screwdrivers nearby. The scene is well-lit and organized, emphasizing each component’s details and textures. The atmosphere is that of a creative workspace.”
Frame Assembly and Electronic Components Integration
Building a strong 3D printer needs careful attention. We’ll show you how to build a solid frame and add the electronics. This will make your desktop fabrication device work well.
Building a Sturdy Frame Structure
The frame is the base of your 3D printer. It’s important to build it with precision. Choose materials like aluminum or acrylic that fit your design.
Follow the instructions in your open-source design to put the frame together. Make sure each part is aligned and secure.
Wiring and Control Board Setup
After the frame is built, it’s time for wiring and setting up the control board. This is key for your 3D printer to work right. Connect the motors, endstops, and other parts to the control board.
Make sure the wiring is neat and follows the diagrams in your guide. This will help everything work together smoothly.
Power Supply Installation
The last step is installing the power supply. Pick one that fits your printer’s needs and put it in the frame. Connect it to the control board and check all connections are tight.
By doing these steps, you’ll have a solid 3D printer ready for setup and calibration. Always keep safety in mind and use trusted sources for building your devices.

A detailed assembly scene of a DIY 3D printer, showcasing various components like metal frames, motors, and wiring. The background includes tools like screwdrivers and pliers, with a workspace cluttered with parts. The focus is on the frame assembly process, with hands carefully fitting pieces together, bright lighting emphasizing the intricate details of the electronic components. Include subtle branding elements related to “jagwalhome.com”.
Setting Up the Extruder and Print Bed Systems
Building your own 3D printer is a journey into the world of fused deposition modeling. This technology is at the heart of the maker movement and low-cost 3D printer builds. It’s all about setting up the extruder and print bed systems right.
First off, you’ll tackle the extruder. It melts and pushes out the filament material. You need to install the hot end carefully. This ensures the right temperature and smooth extrusion for top-notch rapid prototyping.
Next, get the print bed ready. It’s key for sticking the layers together and for even printing. This step is crucial for your 3D-printed projects.
With these systems set up, your homemade 3D printer kits will shine. You’ll be able to make amazing, useful things. Your printer will become a creative powerhouse, opening doors to endless possibilities in additive manufacturing.
FAQ
What are the benefits of building my own 3D printer?
Building your own 3D printer saves money and lets you customize it. It’s also rewarding to make something that works. You can make it fit your needs and budget perfectly.
What are the essential components I’ll need to build a 3D printer?
You’ll need a strong frame, stepper motors, and a control board. An extruder and print bed are also crucial. Don’t forget the electronic parts like power supplies and wiring.
How much does it typically cost to build a 3D printer from scratch?
The cost varies based on what you choose and the design’s complexity. You might spend $300 to $1,000 for a DIY kit or a self-built project.
What tools and equipment do I need to assemble a home-built 3D printer?
You’ll need basic tools like screwdrivers and pliers. For more complex builds, a multimeter, wire cutters, and a soldering iron might be necessary.
How do I assemble the frame and integrate the electronic components?
Start by cutting and assembling the frame’s parts. Then, wire the control board, motors, and other components. Make sure everything is connected securely and works well.
What steps are involved in setting up the extruder and print bed systems?
For the extruder, install the hot end and calibrate the filament. For the print bed, level it and prepare it for printing. This ensures good adhesion and quality.
How to buy any product online?
For buy any single product click here
For buy wholesale products click here