1. Introduction
Removing tile floors can seem like a straightforward task, but in reality, it’s far from easy. Whether you’re remodeling your home or simply want to update your flooring, tackling the removal of tile floors can be a huge challenge. The process is time-consuming, messy, and can cause significant damage to the subfloor underneath. It often involves heavy lifting, the use of power tools, and plenty of elbow grease. For homeowners, this can quickly turn into a costly and exhausting project. The noise, dust, and potential damage to other areas of the home can also be major deterrents. Covering Up Tile Floors
Not only does removing tile floors create unnecessary stress, but it also requires a substantial amount of time and effort. Many homeowners find themselves overwhelmed by the sheer difficulty of the task. On top of that, tile removal often leads to additional issues, such as subfloor repairs, which only increase the overall cost of the project. In some cases, the tiles may even be set with stubborn adhesives that make removal even more challenging. All these factors make tile floor removal seem like an insurmountable task.
This is why it’s so important to explore alternative solutions that avoid the hassle and mess of tile removal. Finding ways to cover up tile floors without removing them is not only practical but also cost-effective. Whether you’re dealing with outdated or unattractive tile, there are a number of creative solutions that can transform your floors without the need for a full-scale demolition. These alternatives can save time, money, and energy, while still providing the aesthetic upgrade you’re looking for.
From personal experience, I’ve faced the daunting challenge of removing tile floors. After hours of trying to pry up stubborn tiles and dealing with the dust and debris, I quickly realized that the process wasn’t worth the effort. In my own case, I was left with a damaged subfloor and an even bigger headache. That’s when I started looking for easier and more affordable alternatives to cover up tile floors without the need for removal. By experimenting with different ideas, I found practical solutions that worked beautifully, and now I’m excited to share them with you.
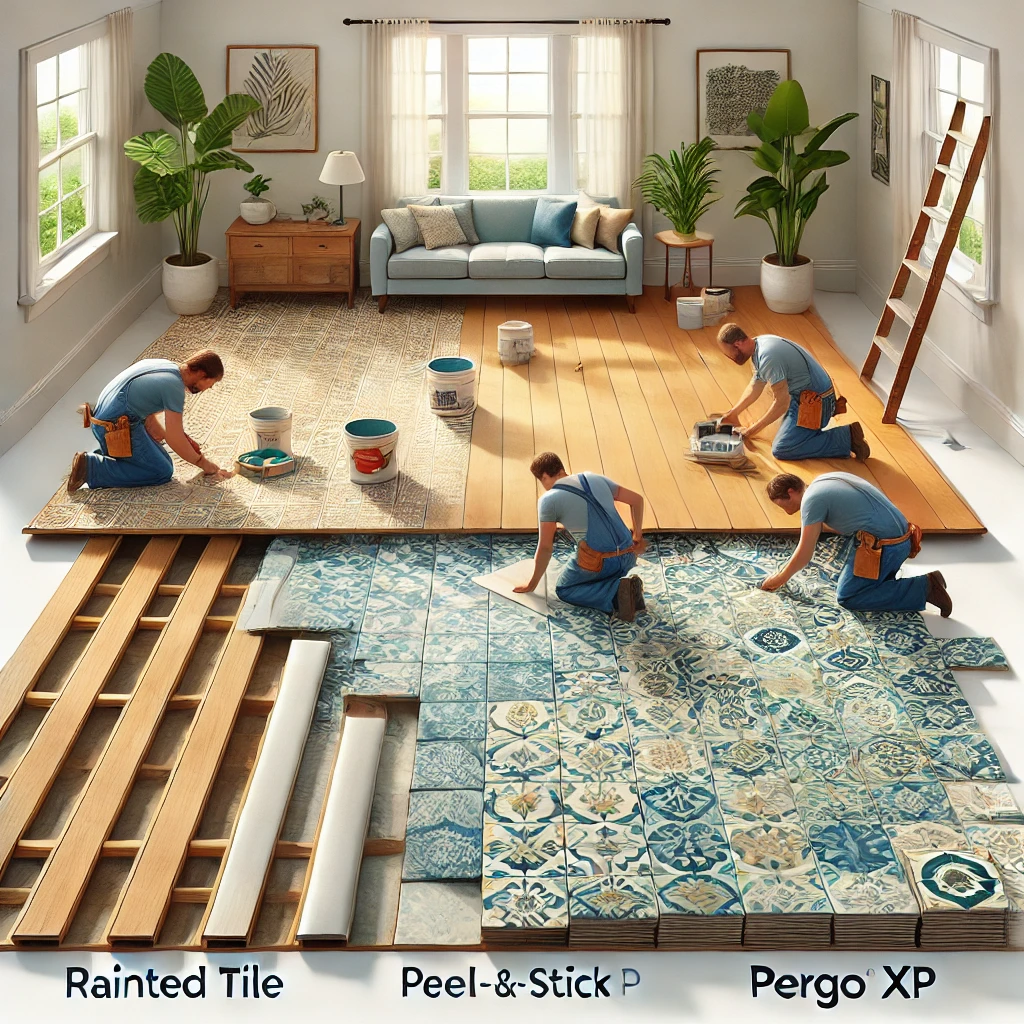
2. 3 Easy Ideas to Cover Up Tile Floors
When it comes to covering up tile floors without the need for removal, there are several creative and practical solutions to consider. Instead of diving into a long and labor-intensive tile removal process, you can opt for one of these quick fixes. These ideas are budget-friendly, easy to implement, and can completely transform the look of your floors. Here are three solutions that I explored, each offering its own set of benefits and challenges.
2.1 Idea 1 – Paint the Tile with a Stencil
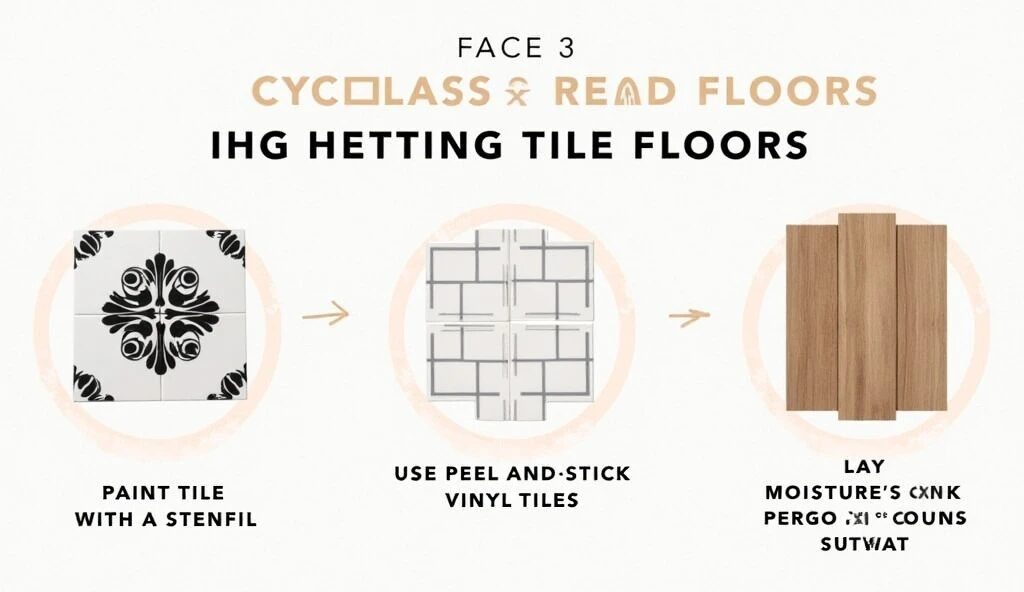
One of the first ideas I considered was painting the tile with a stencil to create a custom look. This DIY approach involves painting over your existing tile with a design of your choice, using a stencil to add intricate patterns or even a mosaic tile effect. It’s a great way to revamp your floor without the need for any demolition. Essentially, you’re giving your tile a complete makeover, adding color and texture while covering up the old, worn-out surface.
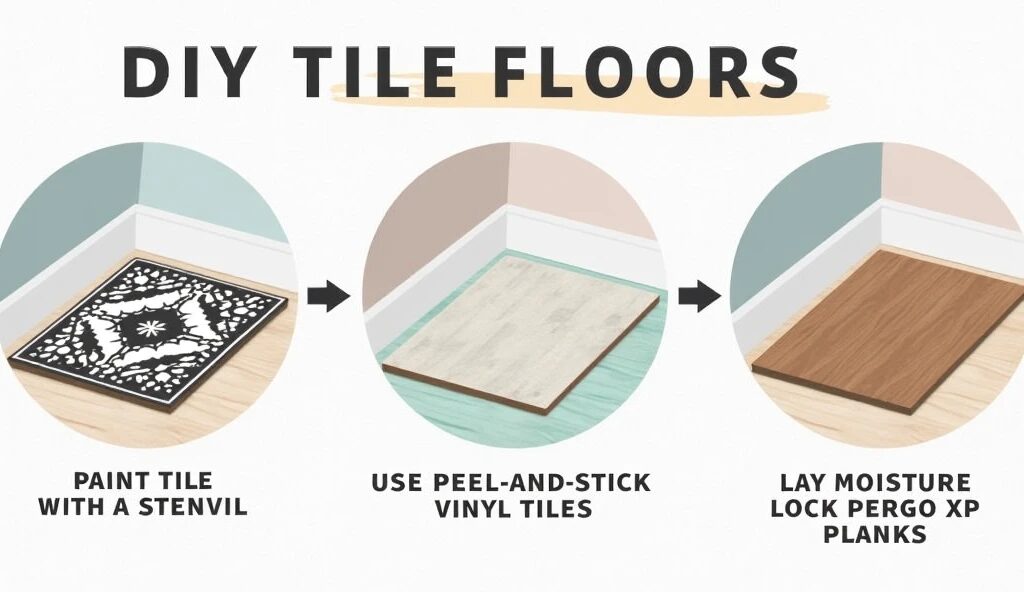
What It Involves:
To paint the tiles, you first need to clean the surface thoroughly to ensure proper adhesion. Once the tile is dry, you can apply a primer specifically designed for tile surfaces. After the primer dries, you can use stencils and tile paint to create your desired design. It’s an affordable way to add a unique touch to your space without spending a fortune. The stenciling process can be quite fun, as you have full control over the design, and the possibilities are endless.
Benefits of a Mosaic Tile Look:
One of the major advantages of this approach is the ability to create a mosaic tile effect without the cost of real mosaic tiles. The paint gives you the flexibility to incorporate vibrant colors and patterns that would otherwise be hard to achieve with traditional tiles. The mosaic look can bring a touch of artistry and personality to any room, making your floor a focal point.
Pros and Cons:
The pros of this method include its low cost, ease of application, and customization. It’s an ideal solution for homeowners looking to refresh their space without spending too much money. Additionally, it’s a relatively quick fix, and you can easily do it yourself without needing professional help. However, the cons include the potential for paint chipping or fading over time, especially in high-traffic areas. The painted tiles can also require touch-ups periodically to maintain their appearance.
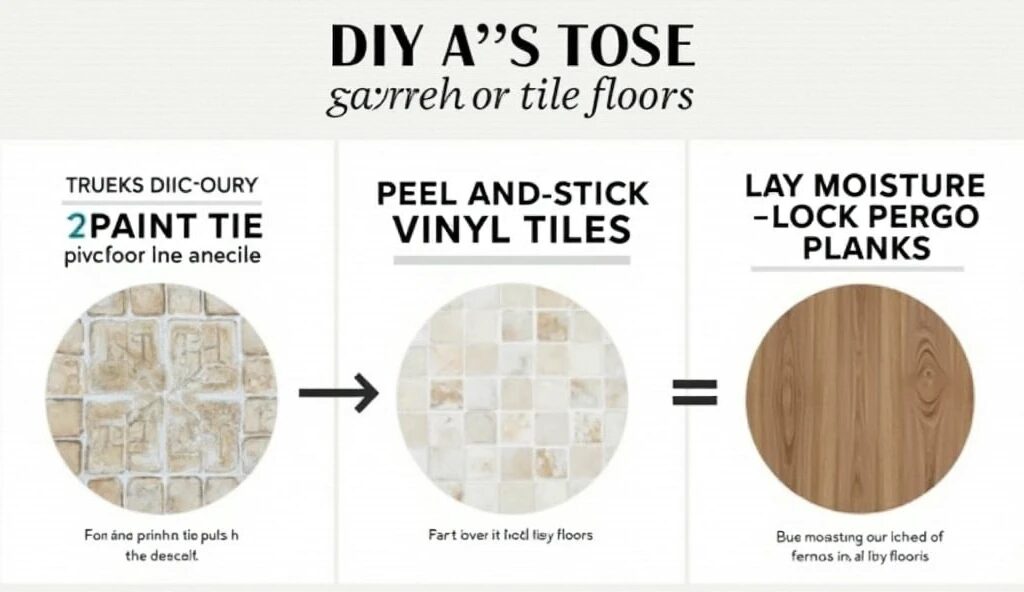
Why It Wasn’t the Best Option for the Author:
While painting the tile with a stencil sounded like a good idea, I found that it wasn’t the best option for my situation. For one, the painted tiles started to show wear after a few months of heavy use. Despite applying a durable sealer, the paint didn’t hold up as well as I had hoped, especially in areas like the kitchen and bathroom, where moisture and foot traffic are high. Additionally, achieving a perfect stencil design can be tricky, and any imperfections were noticeable, which made it harder to maintain a clean, polished look. Though the idea of a custom-painted tile floor was appealing at first, the long-term durability was a concern for me, leading me to explore other alternatives.
2.2 Idea 2 – Lay Groutable Peel & Stick Vinyl over the Tile
Another idea I explored was using groutable peel-and-stick vinyl tiles as an easy and affordable way to cover up my existing tile floors. This solution is a popular choice for homeowners who want a simple and quick fix without the hassle of extensive renovations. Peel-and-stick vinyl tiles come in a wide variety of designs, allowing you to mimic the look of more expensive flooring materials like wood, stone, or ceramic, all without the high cost.
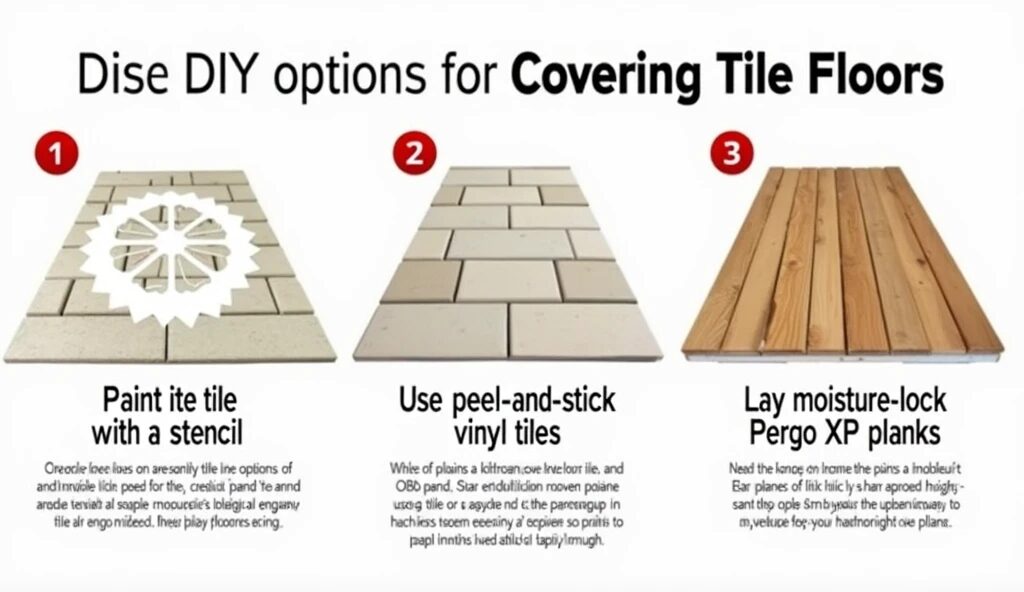
Explanation of Peel-and-Stick Vinyl Tiles:
Peel-and-stick vinyl tiles are exactly what they sound like – tiles that have an adhesive backing, making them easy to install by simply peeling off the backing and sticking them directly over the existing tile surface. The groutable version of these tiles allows you to apply grout between each tile, giving the floor a more authentic, tile-like appearance. The beauty of this option lies in its simplicity: no glue, no mess, and no need for special tools.
Benefits of Affordability and Ease of Installation:
The primary benefit of peel-and-stick vinyl tiles is their affordability. They’re generally much cheaper than removing and replacing tiles, and you can install them yourself, which cuts down on the cost of hiring a contractor. This DIY-friendly approach makes it a perfect choice for those who want to upgrade their floors without breaking the bank. Installation is relatively quick and easy—just measure, cut, and stick the tiles in place, and you’re done. The groutable version adds a nice touch of authenticity, making the tiles look like traditional ceramic or porcelain tiles.
Concerns About Durability in Moisture-Heavy Areas (Like Bathrooms):
While peel-and-stick vinyl tiles are a great option for many areas of the home, they do have some drawbacks, especially when it comes to moisture-heavy spaces. In areas like bathrooms or kitchens, where water can seep into cracks and corners, the adhesive backing may not hold up as well over time. The grout may also become damaged or moldy in these environments, leading to a less-than-ideal appearance. In my case, I was concerned about the potential for the tiles to peel away or warp due to moisture exposure, which is a common issue with adhesive flooring products.
Potential for Future DIY Project:
Despite the concerns about moisture, I saw peel-and-stick vinyl as a potential future DIY project to experiment with in less humid spaces, like living rooms or bedrooms. It’s a great solution for a quick update or a temporary fix if you plan to change the flooring again in the future. Plus, since the tiles are removable, they’re ideal for renters who need a non-permanent solution to flooring issues. The ability to update the look of a room without committing to permanent changes was definitely appealing, and I thought it could be a fun DIY project to tackle in the future. However, I would need to be mindful of the placement in areas prone to moisture and high foot traffic.
3. Additional Considerations and Final Thoughts
When considering ways to cover up tile floors without removing them, it’s essential to weigh the pros and cons of each option. Each approach has its own benefits and challenges, and the best choice depends on various factors, including the room’s environment, budget, and aesthetics.
Comparison of the Three Options:
- Paint the Tile with a Stencil:
- Pros: This option allows for a creative and visually striking look, particularly with a mosaic pattern. It’s a low-cost way to transform tile and gives a fresh, unique appearance to the floor.
- Cons: However, this method requires a lot of preparation, including thorough cleaning and ensuring that the paint adheres well to the surface. It’s also not the most durable option, as the paint can wear off over time, especially in high-traffic areas.
- Lay Groutable Peel & Stick Vinyl over the Tile:
- Pros: This is an affordable and easy-to-install option, offering a variety of design choices without breaking the bank. The groutable feature allows it to mimic the look of traditional tiles.
- Cons: The major drawback is its limited durability in moisture-prone areas like bathrooms. The adhesive may not hold up well in high-humidity environments, and the grout can become moldy or damaged over time.
- Lay Pergo XP with Moisture Lock over the Tile:
- Pros: This method provides superior durability and moisture resistance, making it ideal for bathrooms or kitchens. It’s also easy to install and can withstand heavy foot traffic.
- Cons: The cost can be higher compared to the other options, and it requires a bit more effort to ensure proper installation, such as ensuring the surface is level and moisture-resistant.
Which Option Worked Best in the Author’s Home:
In my personal experience, the Pergo XP with Moisture Lock turned out to be the most effective solution for my home. It provided the durability I needed in a moisture-heavy area, like my bathroom, while also offering an appealing look that complemented my decor. Despite the initial cost, the benefits of durability and ease of maintenance made it the most suitable choice for my needs.
Closing Thoughts on DIY Solutions for Tile Floor Issues:
Overall, these DIY solutions offer creative ways to cover up tile floors without the hassle of complete removal. It’s essential to consider factors such as the room’s moisture levels, budget, and personal aesthetic preferences when choosing the best method for your home. Whether you’re looking for a quick and affordable update or a longer-term fix, there are options available to suit every need—from groutable peel-and-stick vinyl tiles for budget-conscious renovations to moisture-resistant Pergo floors for high-traffic and moisture-prone areas. By weighing the pros and cons, you can make an informed decision that transforms your tile floor into a stylish and functional space.
Final Thoughts on DIY Solutions for Tile Floor Issues
Covering up tile floors without removing them can be a practical and cost-effective solution, especially if you’re looking for a quick and less invasive makeover. Whether you choose to paint your tiles with a stencil for a personalized touch, lay groutable peel-and-stick vinyl tiles for a more temporary yet affordable fix, or opt for a more durable solution like Pergo XP with Moisture Lock, each method has its unique benefits and drawbacks. Ultimately, the choice depends on your specific needs, such as budget, room type, and desired aesthetic.
For my home, the Pergo XP with Moisture Lock proved to be the most suitable solution, providing long-lasting durability and a fresh look. No matter which option you decide to try, just remember that DIY solutions can save both time and money while still achieving a great result. With proper care, your tile-covered floors will last, offering both beauty and functionality.
FAQs
1. How long will painted tile floors last?
Painted tile floors can last for a few years, but their durability largely depends on the quality of the paint used, the preparation of the surface, and the amount of foot traffic in the area. If you use high-quality, tile-specific paint and properly seal the surface, it can withstand wear and tear for around 3 to 5 years. However, high-traffic areas, such as kitchens and bathrooms, may experience more damage over time. To extend the life of painted tiles, ensure you regularly clean them using non-abrasive methods and apply touch-ups as needed.
2. Can I install peel-and-stick vinyl over existing tile?
Yes, you can install peel-and-stick vinyl tiles directly over existing tile floors, provided the surface is smooth, clean, and dry. It is crucial to fill any large grout lines or cracks in the tile to prevent the vinyl tiles from uneven placement. The adhesive backing of the vinyl tiles works best when the tiles underneath are solid and free from debris. This installation method is cost-effective and can be completed by most DIYers, making it an easy solution to cover up old or worn-out tiles.
3. What is the best way to clean vinyl tiles?
To clean vinyl tiles, it’s best to use a mild soap solution mixed with warm water. Avoid harsh chemicals like bleach, as they can degrade the vinyl’s surface. Use a soft mop or cloth to wipe down the tiles, as abrasive tools or scrubbing brushes can leave scratches. For tough stains, consider using a vinyl floor cleaner or a vinegar-water solution. Ensure the surface is dry after cleaning to prevent any water damage. Regular cleaning will help maintain the aesthetic of your peel-and-stick vinyl floor.
4. Can Pergo XP be used in a bathroom?
Yes, Pergo XP with Moisture Lock is designed to be moisture-resistant and is a great option for use in bathrooms, kitchens, or laundry rooms. The moisture-lock feature helps prevent water from seeping between the planks, making it durable enough for areas prone to high humidity. However, it’s important to promptly clean up any standing water to ensure the floor lasts longer. Pergo XP is also designed for easy installation and can handle the temperature fluctuations often found in bathrooms.
5. How much does it cost to cover tile floors with peel-and-stick vinyl?
The cost of peel-and-stick vinyl tiles typically ranges from $1 to $3 per square foot, depending on the quality and design of the tiles. Installation is relatively inexpensive, as it is a DIY project that doesn’t require professional help. For a more luxurious look, higher-end vinyl tiles can cost more, but they are still much more affordable than replacing your tile floors entirely. Keep in mind that you may also need to purchase grout if you opt for groutable vinyl tiles.
6. Is it necessary to grout peel-and-stick vinyl tiles?
Grouting peel-and-stick vinyl tiles is optional, depending on the look you want to achieve. If you prefer a more realistic, tile-like appearance, you can grout the seams between the tiles. Some peel-and-stick vinyl tiles are specifically designed to be groutable, allowing you to fill the gaps between the tiles for added texture and realism. If you want a smoother, easier-to-maintain surface, you can install regular peel-and-stick vinyl without grout.
7. Can I remove Pergo XP if I want to change the floor later?
Yes, Pergo XP with Moisture Lock can be easily removed if you decide to change the flooring in the future. The installation process uses a floating floor system, which means the planks click together without the need for adhesive. If you want to replace or remove the floor later, you can simply disassemble the planks without causing damage to the existing tiles underneath. This makes it a flexible and reversible flooring option for those who like to change their home’s look often.
8. Do I need to seal painted tile floors?
Yes, sealing painted tile floors is highly recommended to protect the paint and extend the life of the surface. After painting your tiles, applying a clear acrylic sealer will help protect against moisture, dirt, and wear. It creates a smooth, protective layer over the painted surface, preventing peeling and fading. Make sure to allow the paint to fully cure before sealing, as this will ensure the best results. Regular resealing may be necessary over time, especially in high-traffic areas.
9. Can I use mosaic tile stencils on all types of tile?
Mosaic tile stencils can be used on most types of tile, including ceramic, porcelain, and even some natural stone tiles. The stencils work best on smooth, non-porous surfaces because the paint adheres more evenly. If the surface is textured or has a glossy finish, you may need to lightly sand it to create a better surface for paint adhesion. Always test the stencil on a small area first to ensure it gives you the desired look before applying it to the entire floor.
10. How can I make my DIY tile floor makeover last longer?
To make your DIY tile floor makeover last longer, preparation is key. Start by thoroughly cleaning the surface to remove dirt, grime, and grease, ensuring that the paint or adhesive will adhere properly. If you’re painting, use high-quality, tile-specific paint and apply multiple thin coats for better durability. For peel-and-stick vinyl tiles, make sure the underlying surface is smooth and clean. Finally, regularly maintain your floors by cleaning them gently and avoiding harsh chemicals or abrasive tools, which can damage the finish.
